

It is 2023 and now it is possible to host a WordPress website on a free VPS server, thanks to the generous service provided by Oracle Cloud. The service is called Oracle Cloud Free Tier and the good news is there is no catch – the services are free forever, as long as you are on the free tier package.
Please note that being a free service, the free VPS does have some restrictions, i.e. no Oracle support, you can have only one free account and SMTP server is not allowed. Moreover, you should do regular server backups, as some users have reported that their free accounts have been deleted from Oracle without any further explanations. This opportunity is perfect for R&D and testing but should be used with caution on production. For unlimited features and priority support, you should upgrade your plan. You have been warned.

Sign Up for an Account
The registration process is somewhat tedious but once you get approved, you will be able to set up a powerful VPS sever and host unlimited number of websites. Unlike most free shared hosts on the market that offer some free services but it would have been be better if they did not offer them at all, here you can do all those things that until recently were unthinkable on a free host, e.g. install ssl sertificate or add as many php modules as you like, unlimited databases and unlimited domains. In fact, what you will get in the end of the tutorial is a small treasure – a self-managed web server with 200GB Hard Drive, 4CPU-s and 24GB of RAM! All you need to do is to sign up for an account and configure the VPS.
When you sign up for an account, you would register for a free trial. The free trial includes all the services provided by Oracle Cloud, including the paid ones. After one month, you need to upgrade your account if you wish to continue using the paid services. Oracle Cloud operates on “pay as you go” scheme, depending on how many paid resources you have used. However, if you do not upgrade to their paid plan, after the trial you will automatically get restricted to the always free account, the so called Oracle Free Tier service. This is what we are gonna focus on in this tutorial.
To sign up for an account, go to Oracle Cloud Free Tier page and create an account.
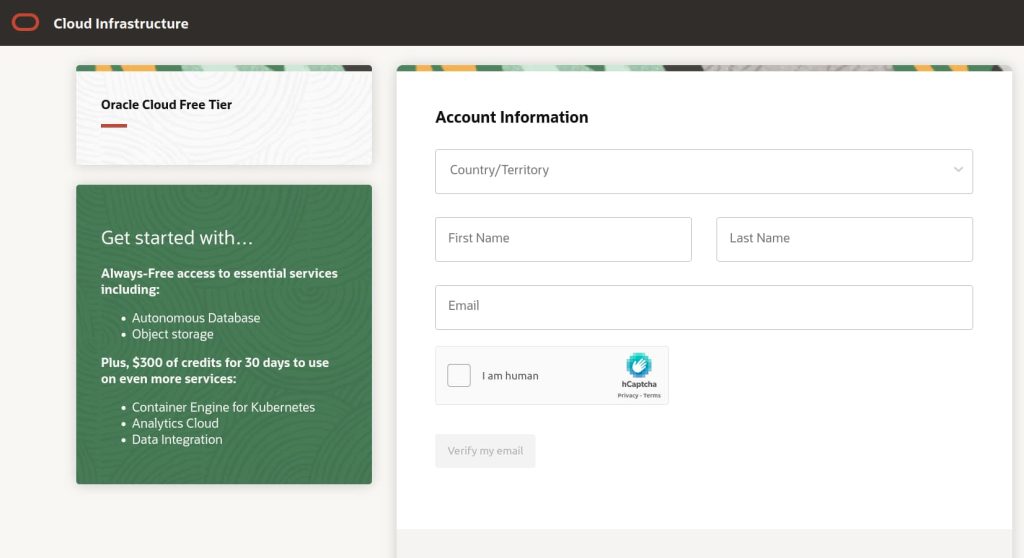
You will be asked to enter your credit or debit card. Don’t panic, you will not be charged anything. A small amount will be deducted from your balance and then immediately restored upon successful registration. This is needed by Oracle to make sure you are a legitimate user. SInce they are giving so much for free, they try to make sure that only one account per person is created. Credit card registration is their way to make sure there are no abuses and to find potential customers. Fair enough.
After the registration process is complete (and you are lucky to get your credit card approved) you might need to wait for a few work days to get your account approved. If you get stuck at this stage, try registering a different bank card or contact the support at [email protected]. Please note they prioritize paying customers and it might take some time before they review your request.
Create your Free VPS Server
Once you have gotten your account approved, go to instances in the top left corner. You will be redirected to a new page where you can create your instance. Select the correct compartment from the left sidebar and click on “create instance”. Give it a name. Ignore the estimated cost from the right side, it is a bug, as long as you are on a free account or free trial account, you will not pay. Scroll down to the Image and Shape section. Click on “Change image”. This is where you can select your OS. You can pick between Windows Server, Ubuntu, etc. Select Ubuntu.

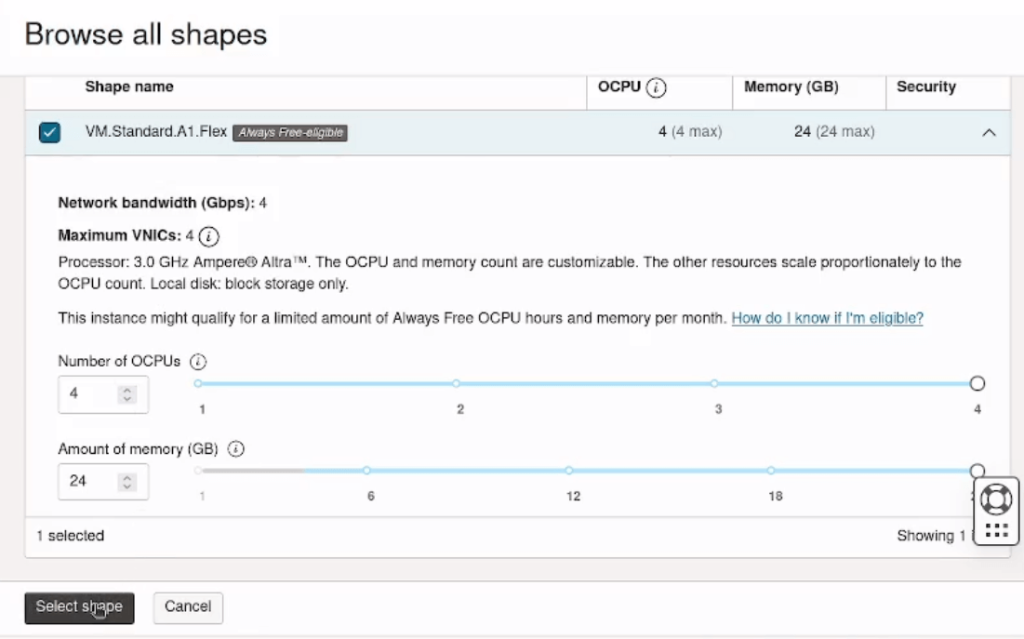
From “Shape series” choose Ampere. For CPU pick 4 and for RAM pick 24GB. These are the maximum allowed parameters in the free tier but they are more than enough to run a powerful VPS server!
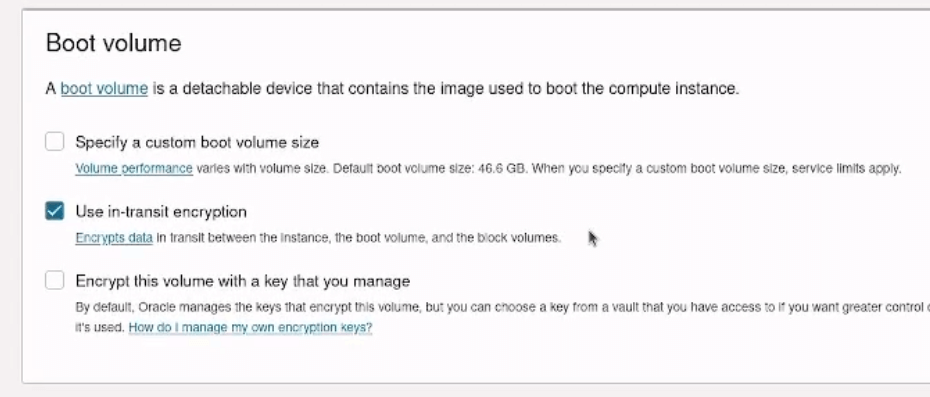
From the ssh section, download the public and the private ssh keys. You would need those in order to access your VPS. After that, go to Boot Volume section and select the checkbox at Select a Custom Boot Volume Size. This is where you will choose the hard drive space The maximum allowed space in the free tier is 200GB. In comparison, free hosts usually allow around 1GB.. amazing!
After you select the boot volume click on “create” to create your Free VPS. You will be redirected to a page with information for your web server. If you have successfully followed the steps so far, you should now have access to a self-managed Ubuntu web server with 4CPU-s, 200GB RAM and 200GB HD! What an accomplishment! Note the public address of your web server, you will need it to access it from a web browser or to point it to a domain of choice. We will do that in the next part of the tutorial.
Log in to the VPS with SSH
The next step is to log in to the VPS using the public and private keys you have created. I recommend you to use a Termius, a free ssh client. You can use it on both Windows and Linux OS.
You need the private key and the public ip address to access the VPS.
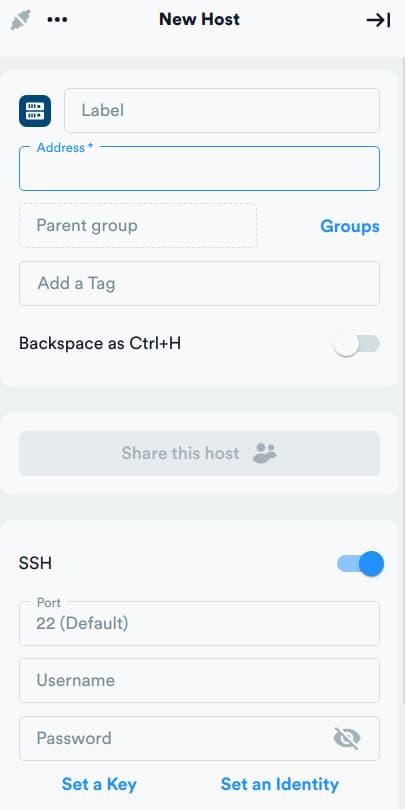
Inside the Termius, click on new host. In the address field, add the public IP address of the web server. For label, add name of your VPS. It can be anything you want. For username, write “ubuntu”. Set a key – click on new key and import the private key. When you are ready with the configuration, click “add and continue”
If you have entered the correct data, you should now be able to log in to your VPS! Now, lets log in install the web server!
Install Control Panel
Unless we are hardcore tech nerds, we will prefer some simple graphical interface to access the VPS from the browser. In Termius, add the following command:
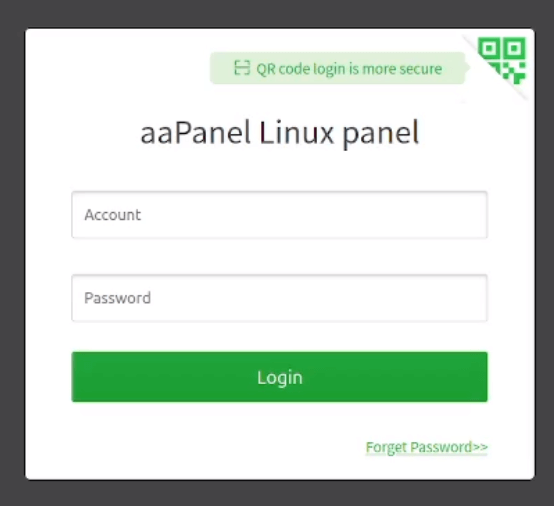
wget -O install.sh http://www.aapanel.com/script/install-ubuntu_6.0_en.sh && sudo bash install.sh aapanelThis will install AAPanel on your VPS. It is a free and opensource web control panel that has all the features you need to operate on the web server with a clean and easy to use graphical interface. In fact, I find it much easier to use than CPanel, which costs money for every new website that you add.
Finally, we need to open some ports on the VPS. In the Oracle Free Tier settings, edit the Subnet settings from the Primary VNIC section.
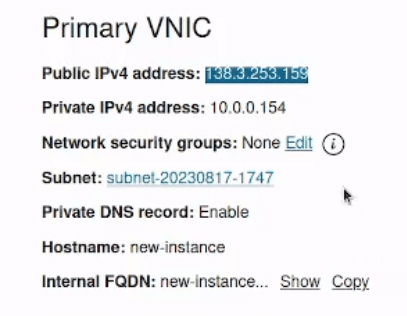
In the Add ingress rules popup, Source CIDR input field, add 0.0.0.0/0. In destination port range, add ports 7800,888,80,433,20,21 and click “Add ingress rules”. Finally, go back to Termius, restart the VPS and click on the provided link.
sudo rebootIf all went well, you should be able to Acess the VPS from the browser!
Install LAMP Stack
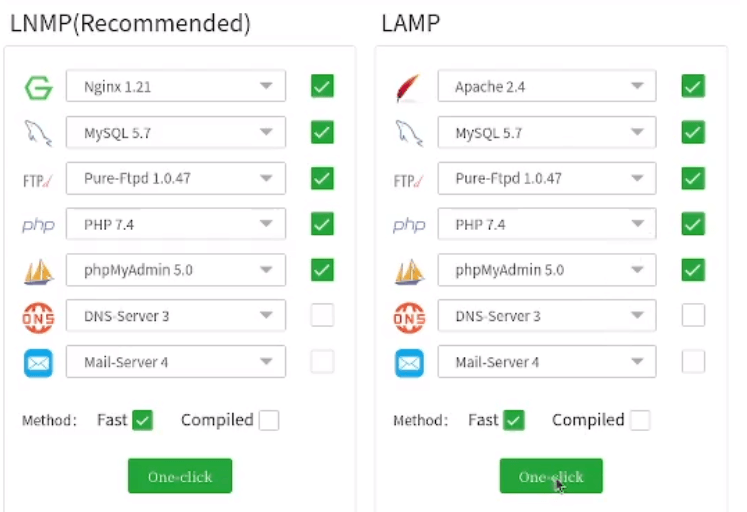
Once you log in to the VPS, you will be greeted with a friendly popup which will invite you to install all the necessary software in order to run WordPress. Select Apache, Mysql, Pure FTPD, PHP and PhpMyAdmin. Do not pick Mail Server, as it is against Oracle Free Tier TOSS and you might run into trouble (getting your free account banned is the last thing you would want).
Install WordPress
Installing a WordPress website in AAPanel is very fast and simple process. First, make sure you have pointed your domain to the VPS public ip address. After that, in AAPanel, click on the Website tab in the left sidebar. Click on “Add site” button and go to WordPress deploy tab.

Add domain name, e.g. mywebsite.com, website title, username (the username with which you are going to log in the cms), password (the password you are going to use to access the cms) and email address. When you are ready, click submit and the WordPress website should be ready for you! You can optionally set up an ssl, which is also extremely easy with AAPanel. Just click on SSL tab from the place where you generated the website and create your SSL certificate.
Congratulations! If all went well, you have just created your first WordPress website on a self-managed, free VPS server.